DIY guide on installing, configuring and using a LoadBalancer, Ingress Controller, and Certificate Manager on a Vanilla Kubernetes Cluster so you can deal TLS certificates like a Boss.
Table of Content
- Pre-Requisites
- Essential Ingredients
- Commentary on Services, LBs and Ingress
- Metallb LoadBalancers
- Ingress Nginx Controller
- Certificate Management
- Summary
- References
Pre-Requisites
- Kubernetes environment, this guide uses a 3 node Vanilla K8s cluster running on Ubuntu VMs
- DNS sever(s), this guide uses Bind DNS running on a Ubuntu VM
- Physical Networking gear to hand out external IPs
You can of course use any K8s, DNS and other Infra gear (such as a Cloud Provider) to work through this guide, that said this is DIY focusing on self-managed infra running in a vSphere data-center.
Essential Ingredients
- Metallb for LoadBalancer(s)
- Ingress Nginx Controller for managing Ingress routing and TLS termination
- Certificate Management for automating self-signed certificates
- Application Container for testing (almost anything should work)
Commentary on Services LBs and Ingress
A source of initial confusion around LoadBalancers and Ingress arises when getting into K8, especially when K8s has baked-in services such as ClusterIP and NodePorts…so lets level that a bit before continuing.
“Services” are primitive building blocks in K8s. Services enable communication and connectivity in a Cluster. There are 2 out-of-the-box Services.
- ClusterIP(s) - The simplest Service type that enables internal east-to-west communication in a cluster. If you need two Pods to communicate ClusterIP is enough.
- NodePort(s) - This Services type enables north-to-south communication in a cluster, it opens a port on each Node and forwards traffic to Pods. Use when you need to reach Pods from outside the cluster in a dev/demo setting.
One of the great things about K8s is its extensibility, LoadBalancers and Ingress are examples of this capability.
- LoadBalancer(s) - This is also a Service type in K8s but not included with Vanilla K8s. Cloud Providers include ready to deploy options tho. LoadBalancers bind to external IPs and thus are accessible outside the cluster, they also balance traffic across backend services of the same type. Metallb is an self-managed/on-prem-k8s option for LoadBalancers and used in this guide.
- Ingress Controller(s) - Simply stated Ingress Controllers are intelligent routers that distribute traffic to multiple backends each of which can be different services. Ingress Controllers are not “Services” like ClusterIP(s), NodePort(s) and LoadBalancer(s). They’re a cluster add-on that implements the Ingress API. Ingress Controllers configure and manage Ingresses which you declare and apply as separate configurations for your architecture.
Metallb LoadBalancers
First order of business is equipping the cluster with LoadBalancer capabilities. Metallb installation by manifest is documented here, but its simply applying a couple manifests to create a namespace, metallb controller deployment and speaker daemonset.
Deploy
# create namespace for metallb-system
kubectl apply -f https://raw.githubusercontent.com/metallb/metallb/main/manifests/namespace.yaml
# deploys controller that handles IP address assignment
# deploys daemonset per node that advertises services with IPs
kubectl apply -f https://raw.githubusercontent.com/metallb/metallb/main/manifests/metallb.yaml
# memberlist secretKey that encrypts comms between speakers for failed node detection
kubectl create secret generic -n metallb-system memberlist --from-literal=secretkey="$(openssl rand -base64 128)"
Configure
Metallb components will start but remain idle until a Layer 2 configuration is applied that declares IP address pools for the LoadBalancer.
This is where physical networking wires into Metallb. The address pool represents the available external IPs that Metallb assigns to LoadBalancers running in K8s.
apiVersion: v1
kind: ConfigMap
metadata:
  namespace: metallb-system
  name: config
data:
  config: |
    address-pools:
    - name: default
      protocol: layer2
      addresses: # external IPs available to LoadBalancers
      - 192.168.13.200-192.168.13.250
Verify
At this point Metallb should be deployed and configured so its time to test LoadBalancer allocation with an app. This can be done using any app container as long as you configure the LoadBalancer accordingly (proper pod selector and ports). The following example deploys a single Todo application pod with a LoadBalancer.
kubectl apply -f pod-with-lb.yml -n arcade
# pod-with-lb.yml
apiVersion: v1
kind: Service
metadata:
  name: todos-app-external
  labels:
    app: todos-app
spec:
  selector:
    app: todos-app # match pod label
  type: LoadBalancer
  ports:
    - port: 8080       # port on lb
      targetPort: 8080 # port on container
---
apiVersion: v1
kind: Pod
metadata:
  name: todos-app
  labels:
    app: todos-app # selected by load-balancer
spec:
  containers: # container uses port 8080 by default
    - name: todos-app-container
      image: corbsmartin/todos-webui-embedded:latest
      imagePullPolicy: Always
Take note of the external IP assigned to the LoadBalancer.
kubectl get svc -n arcade
NAME                 TYPE           CLUSTER-IP      EXTERNAL-IP      PORT(S)          AGE
todos-app-external   LoadBalancer   10.99.51.170    192.168.13.201   8080:32558/TCP   10m
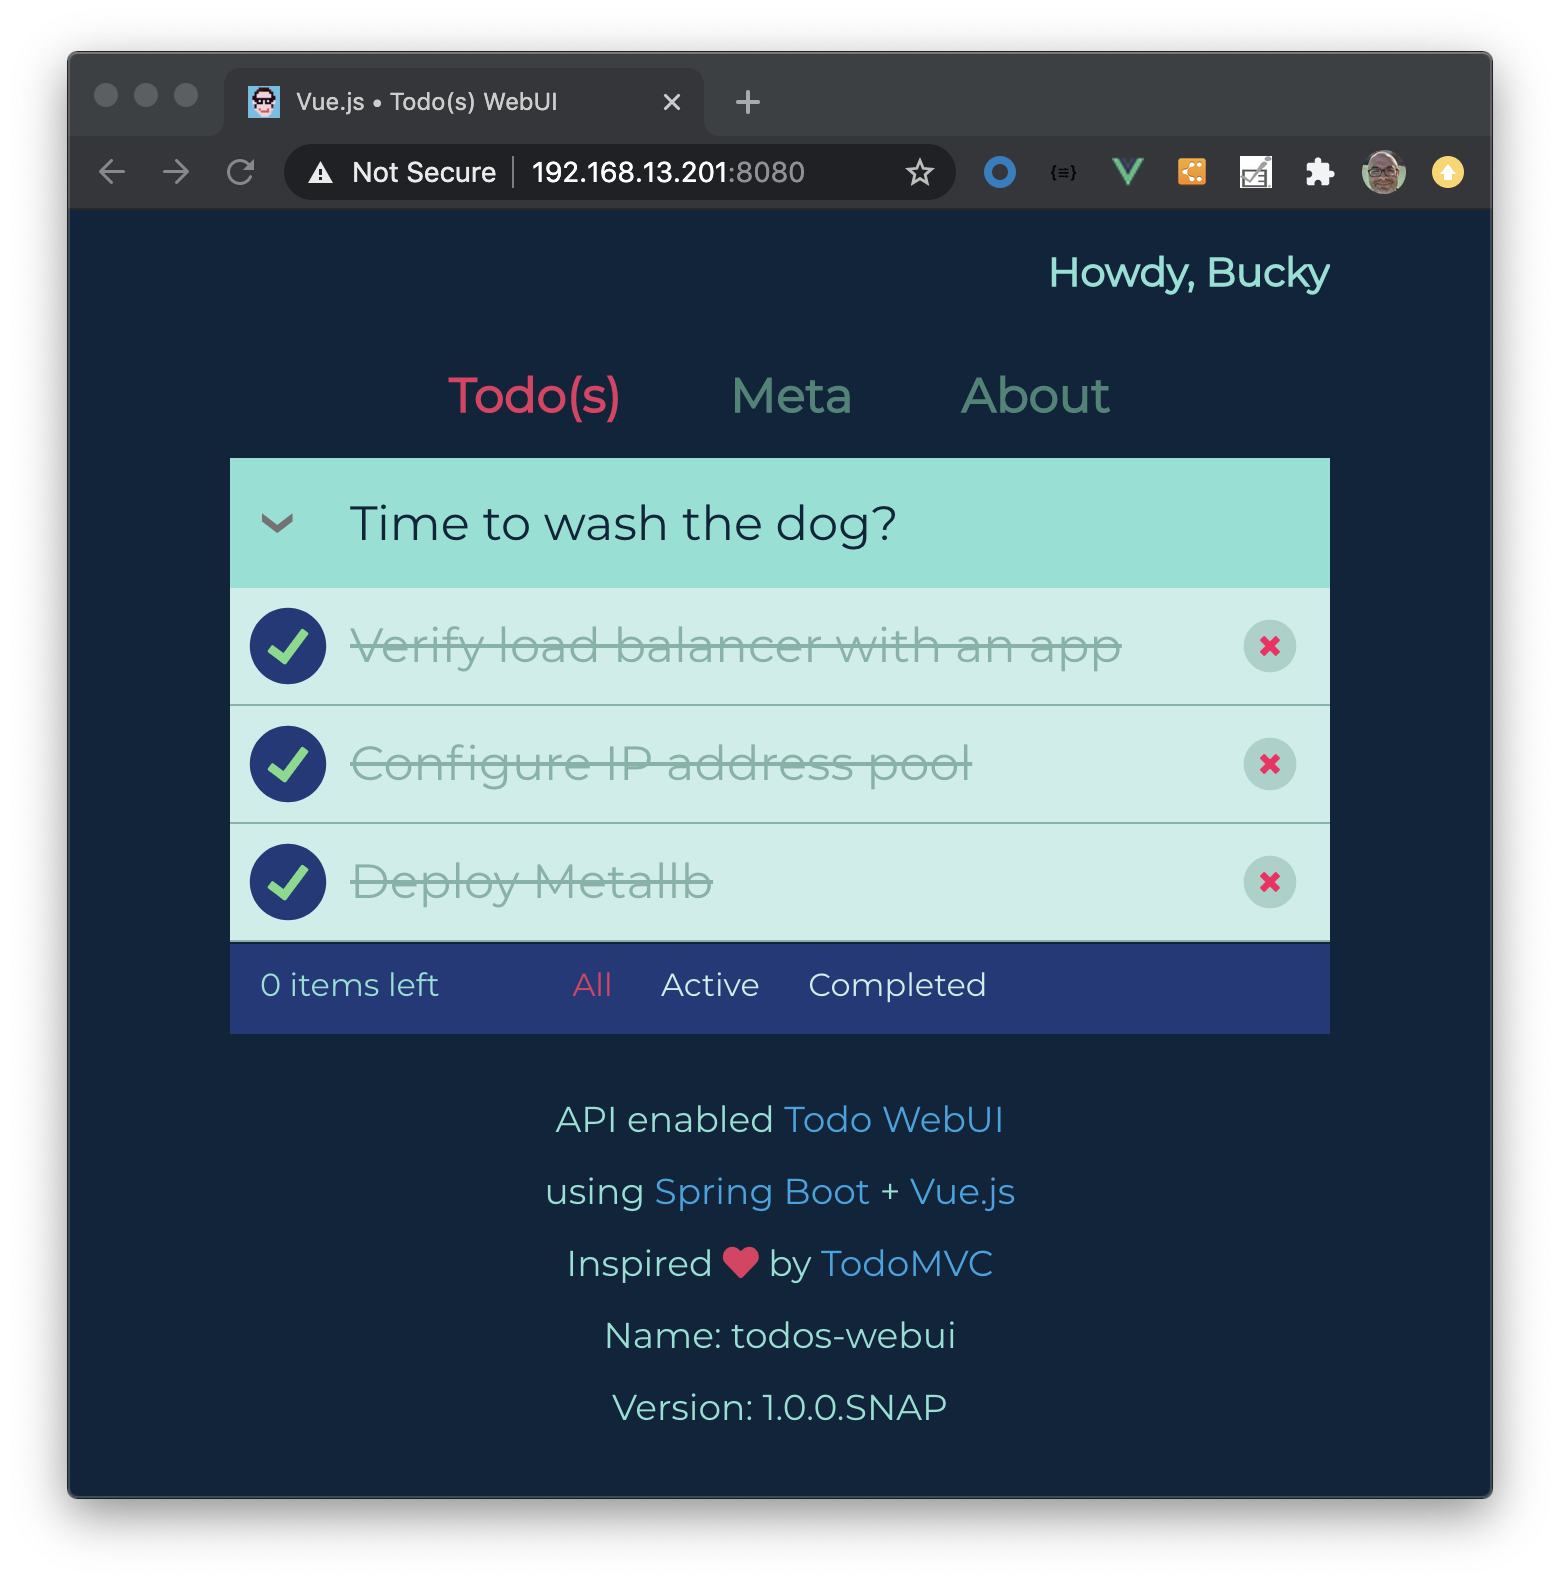
Now open in browser appending the port number…one thing to note is we’re using plain HTTP and it would be better to secure with TLS which we’ll do after we deploy an Ingress Controller.

Ingress Nginx Controller
Now on to equipping the cluster with an Ingress Controller so we can specify Ingress routing for our applications and ultimately terminate TLS.
There are many choices for Ingress Controllers but we’ll use Ingress Nginx which is currently maintained by the Kubernetes project.
Install with Helm
Installing with Helm is the easy button.
# add the chart repo
helm repo add ingress-nginx https://kubernetes.github.io/ingress-nginx
# install into ingress-nginx namespace
kubectl create ns ingress-nginx
helm install ingress-nginx ingress-nginx/ingress-nginx --namespace=ingress-nginx
By default Ingress-Nginx will watch all namespaces for Ingress objects.
Verify Ingress Controller
Check that pod is running and output the version deployed before testing with an Ingress object.
# get pod name
kubectl get pods -n ingress-nginx
NAME                                        READY   STATUS    RESTARTS   AGE
ingress-nginx-controller-748cfddfbf-42tlt   1/1     Running   0

# verify its running and get version
kubectl -n ingress-nginx exec -it ingress-nginx-controller-748cfddfbf-42tlt -- /nginx-ingress-controller --version
-------------------------------------------------------------------------------
NGINX Ingress controller
  Release:       v0.40.2
  Build:         fc4ccc5eb0e41be2436a978b01477fc354f31643
  Repository:    https://github.com/kubernetes/ingress-nginx
  nginx version: nginx/1.19.3

-------------------------------------------------------------------------------
Since Metallb was installed we can see the default Ingress-Nginx Controller has an external IP assigned from Metallb’s address pool.
kubectl -n ingress-nginx get svc
NAME                                 TYPE           CLUSTER-IP       EXTERNAL-IP      PORT(S)                      AGE
ingress-nginx-controller             LoadBalancer   10.109.0.99      192.168.13.200   80:30694/TCP,443:32649/TCP   3d23h
ingress-nginx-controller-admission   ClusterIP      10.106.216.169   <none>           443/TCP                      3d23h
Test with an Ingress Object
The real verification is to create an Ingress object, we’ll use the already deployed todos-app-external service and apply the following Ingress object.
Recall that Ingresses are not K8s Service objects, yet they integrate with them and provide routing. The sample below uses a host rule which tips the Ingress-Nginx Controller to watch for HTTP requests with the given Host header and in-turn route to the specific backend service; in this case todos-app-external.
It’s worth noting that host should be mapped in your DNS server with an A record pointing to the Ingress Controller’s external IP. Otherwise you’ll need to instrument the actual Host header somehow before performing the HTTP request.
kubectl apply -f ingress-todos-app.yml -n arcade
# ingress-todos-app.yml
apiVersion: networking.k8s.io/v1
kind: Ingress
metadata:
  name: todos-app-ingress
spec:
  rules: # best if this has an A record in DNS
  - host: todos.retro.io
    http:
      paths:
      - pathType: Prefix
        path: "/"
        backend:
          service: # the backend Service to route requests to
            name: todos-app-external
            port:
              number: 8080
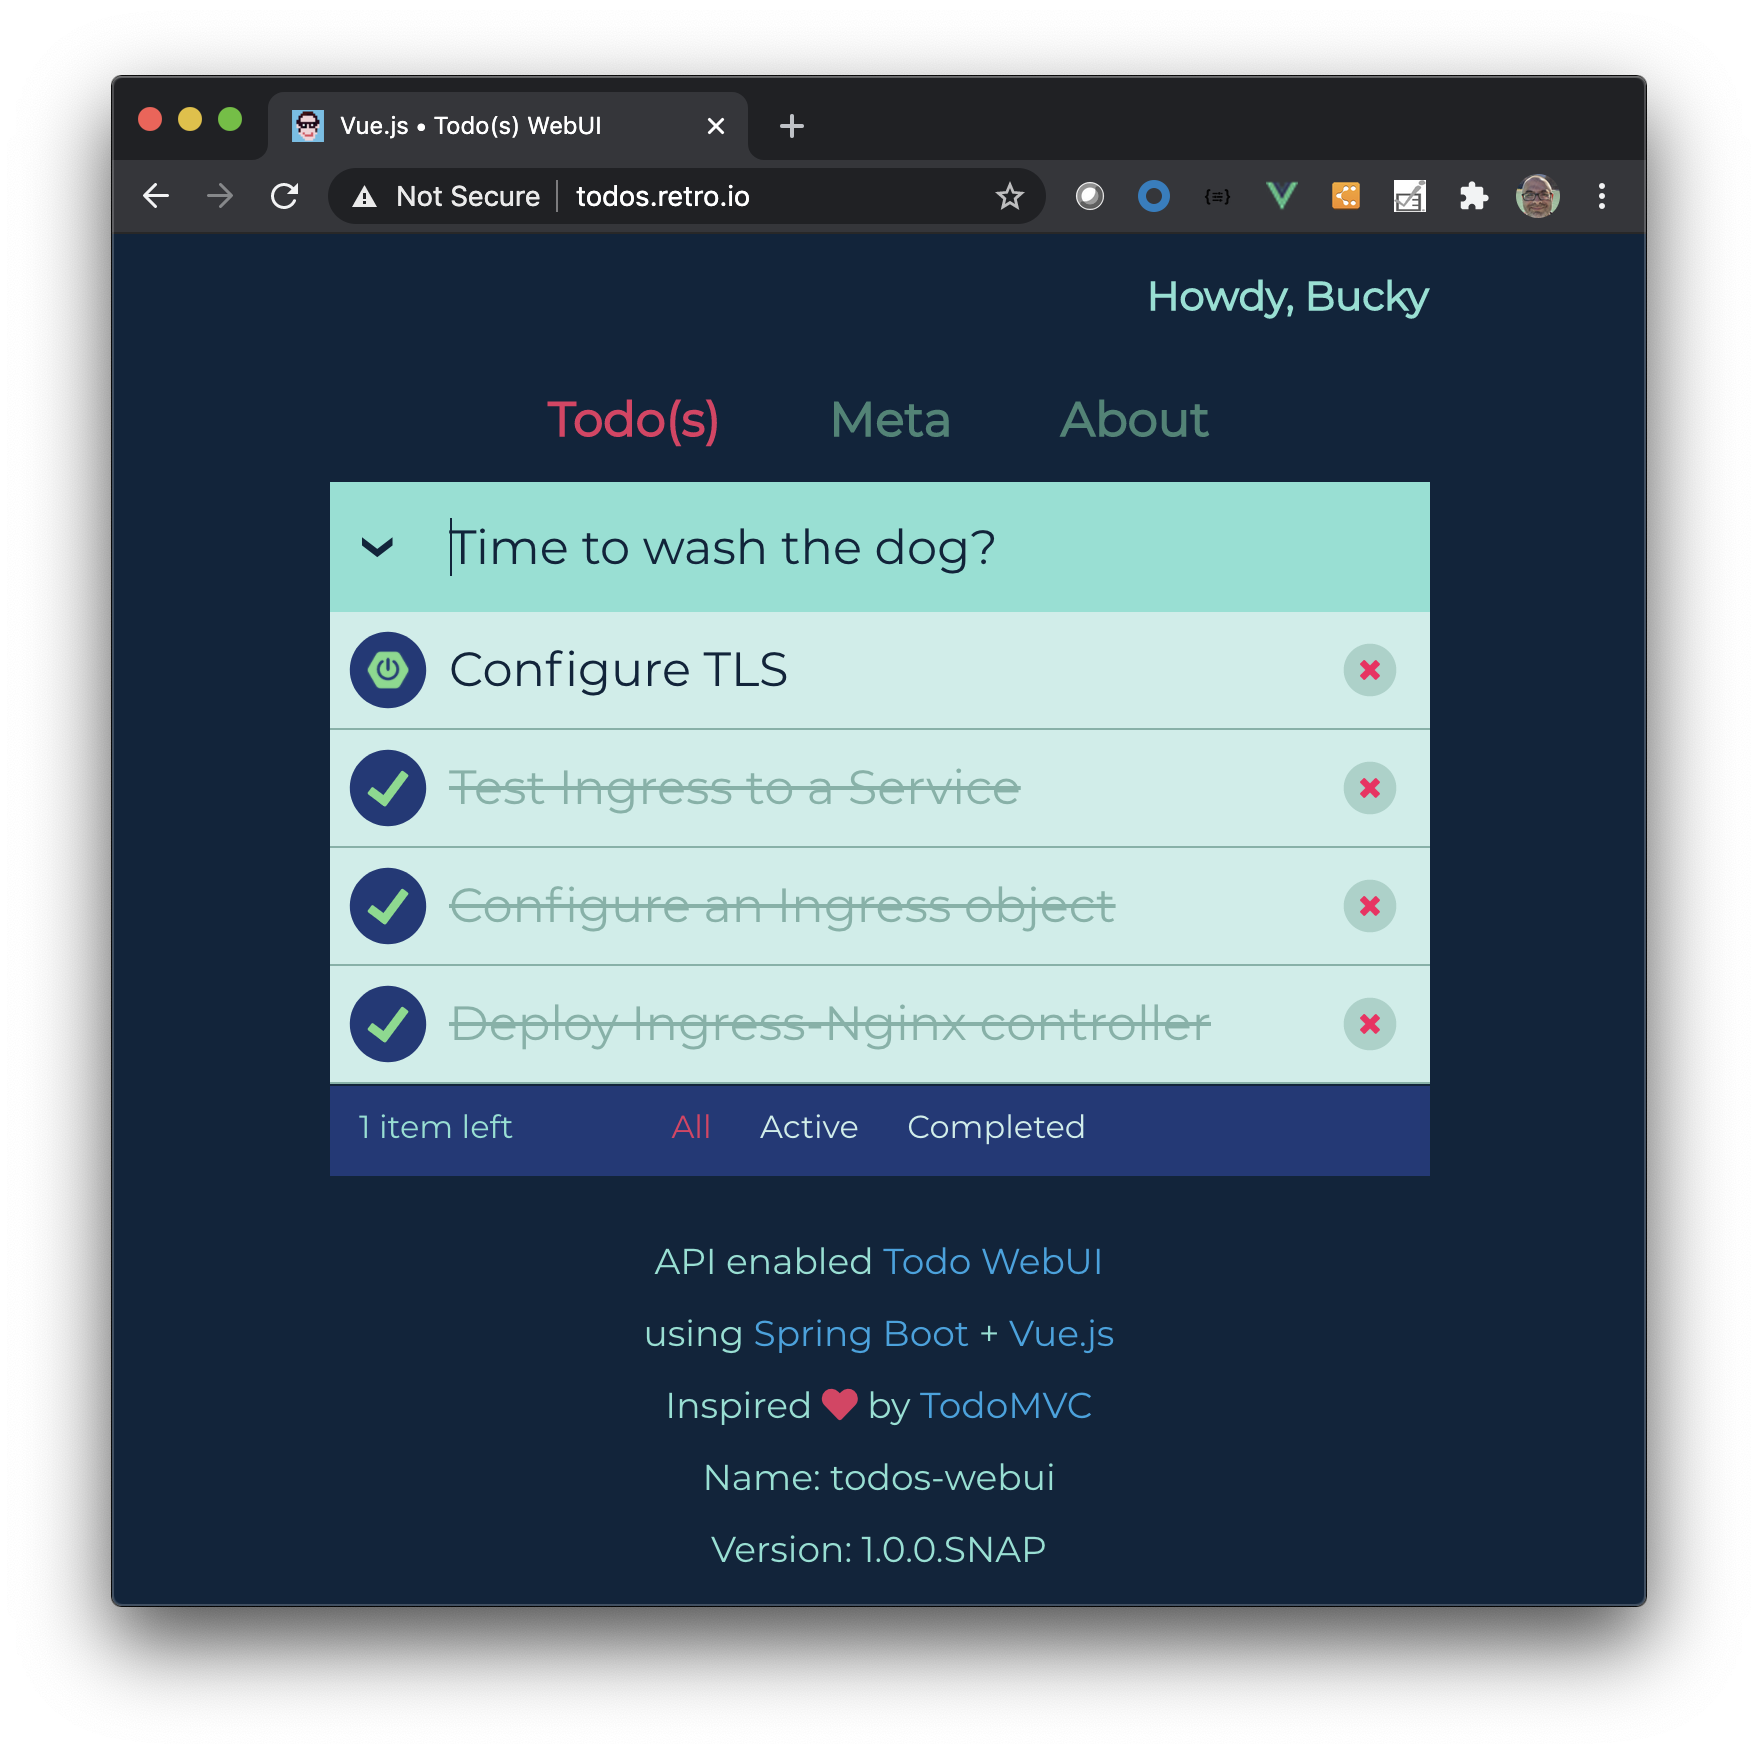
Given that todos.retro.io has an A record in DNS you should be able to open in a browser.

Certificate Management
The third and final add-on to the cluster is deploying a Certificate Manager so we can generate self-signed certificates and use with in-cluster assets such as Ingress objects and LoadBalancers.
We’ll be deploying Cert-Manager via Helm chart and configuring it to do simple self-signed certs, although it’s capable of plugging in other cert sources such as Vault and others.
Once deployed we’ll revisit our previous Ingress object and equip it with a certificate. This will require TLS up to the Ingress endpoint at which point it will terminate before routing to our services.
Install Cert-Manager
We’ll install with Helm as documented here.
kubectl create namespace cert-manager
helm repo add jetstack https://charts.jetstack.io
helm repo update
helm install \
  cert-manager jetstack/cert-manager \
  --namespace cert-manager \
  --version v1.3.1 \
  --set installCRDs=true
Verify Cert-Manager
Check that cert-manager, cert-manager-cainjector and cert-manager-webhook pods are running in the cert-manager namespace.
kubectl get pods -n cert-manager
NAME                                      READY   STATUS    RESTARTS   AGE
cert-manager-556549df9-v5s4h              1/1     Running   0          4d
cert-manager-cainjector-69d7cb5d4-74qkn   1/1     Running   0          4d
cert-manager-webhook-c5bdf945c-qd6g8      1/1     Running   0          4d
Configure Self-Signed Issuer
For the purposes of this guide, we’ll use a simple self-signed Issuer scoped to a specific namespace, although it can have a cluster-wide scope.
# issuer.yml
apiVersion: cert-manager.io/v1
kind: Issuer
metadata:
  name: selfsigned-issuer
  namespace: arcade # your namespace
spec:
  selfSigned: {}
Apply the changes to create the namespace Issuer
kubectl apply -f issuer.yml
# check ready=true
kubectl get issuers selfsigned-issuer -n arcade
NAME                READY   STATUS   AGE
selfsigned-issuer   True             3d23h
Create Cert and Configure with Ingress
This is the meat and potatoes of what we’re trying to accomplish, namely generate a certificate and apply to our Ingress object fronting our service and example pod.
First lets generate a Certificate for todos.retro.io (or whatever DNS name you used).
The important aspects is the secretName which will include the cert content and the dnsNames to apply the certificate to. Not the DNS name is an A record pointing to the Ingress Controller external IP.
apiVersion: cert-manager.io/v1
kind: Certificate
metadata:
  name: todos-retro-io-cert
spec:
  # Secret that will contain the cert
  secretName: todos-retro-io-tls
  duration: 2160h   # 90d
  renewBefore: 360h # 15d
  subject:
    organizations:
    - retro
  commonName: todos.retro.io
  isCA: false
  privateKey:
    algorithm: RSA
    encoding: PKCS1
    size: 2048
  usages:
    - server auth
    - client auth
  # At least one of a DNS Name, URI, or IP address is required.
  dnsNames:
  - todos.retro.io # recall this is a DNS A record
  # Our self-signed issuer
  issuerRef:
    name: selfsigned-issuer
    kind: Issuer
Apply the changes to generate certificate and populate the secret with data.
# create cert
kubectl apply -f cert.yml -n arcade
# verify
kubectl describe  secret todos-retro-io-tls -n arcade
Name:         todos-retro-io-tls
Namespace:    arcade
Labels:       <none>
Annotations:  cert-manager.io/alt-names: todos.retro.io
              cert-manager.io/certificate-name: todos-retro-io-cert
              cert-manager.io/common-name: todos.retro.io
              cert-manager.io/ip-sans:
              cert-manager.io/issuer-group:
              cert-manager.io/issuer-kind: Issuer
              cert-manager.io/issuer-name: selfsigned-issuer
              cert-manager.io/uri-sans:

Type:  kubernetes.io/tls

Data
====
tls.crt:  1155 bytes
tls.key:  1679 bytes
ca.crt:   1155 bytes
Finally the last bit is re-configuring our Ingress object with TLS and applying the change.
# ingress-with-tls.yml
apiVersion: networking.k8s.io/v1
kind: Ingress
metadata:
  name: todos-app-ingress
  annotations:
    ingress.kubernetes.io/rewrite-target: /
spec:
  tls:
    - hosts:
      - todos.retro.io
      # This assumes tls-secret exists and the SSL
      # certificate contains a CN for todos.retro.io
      secretName: todos-retro-io-tls
  rules:
  - host: todos.retro.io
    http:
      paths:
      - pathType: Prefix
        path: "/"
        backend:
          service: # the backend Service to route requests to
            name: todos-app-external
            port:
              number: 8080
kubectl apply -f ingress-with-tls.yml -n arcade
Verify Self-Signed cert
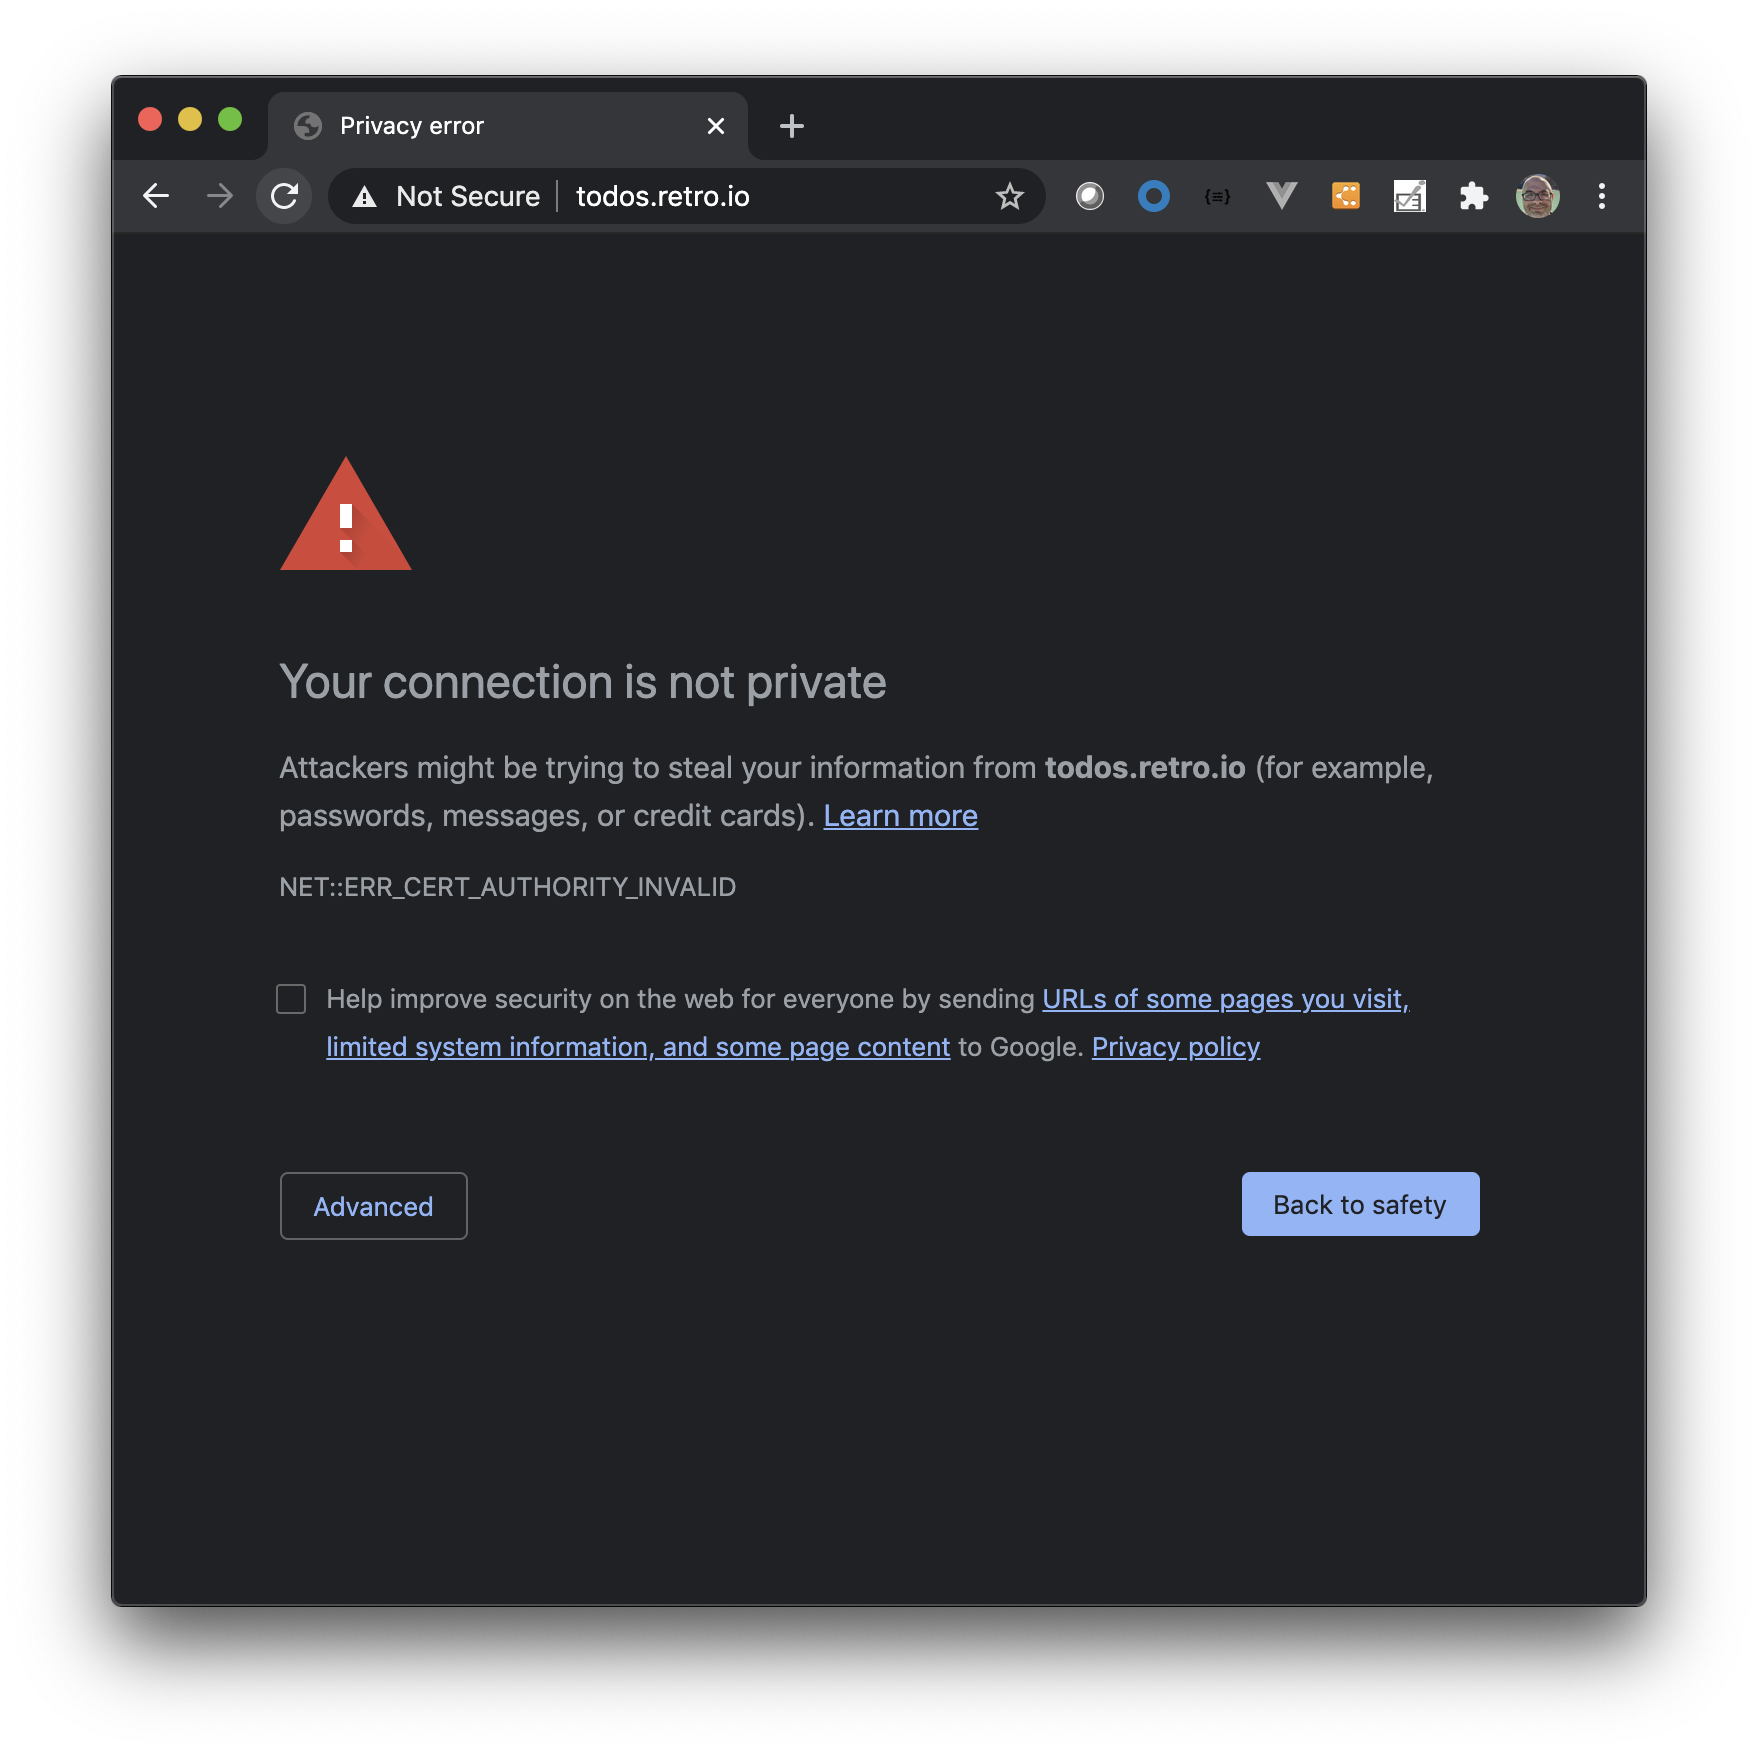
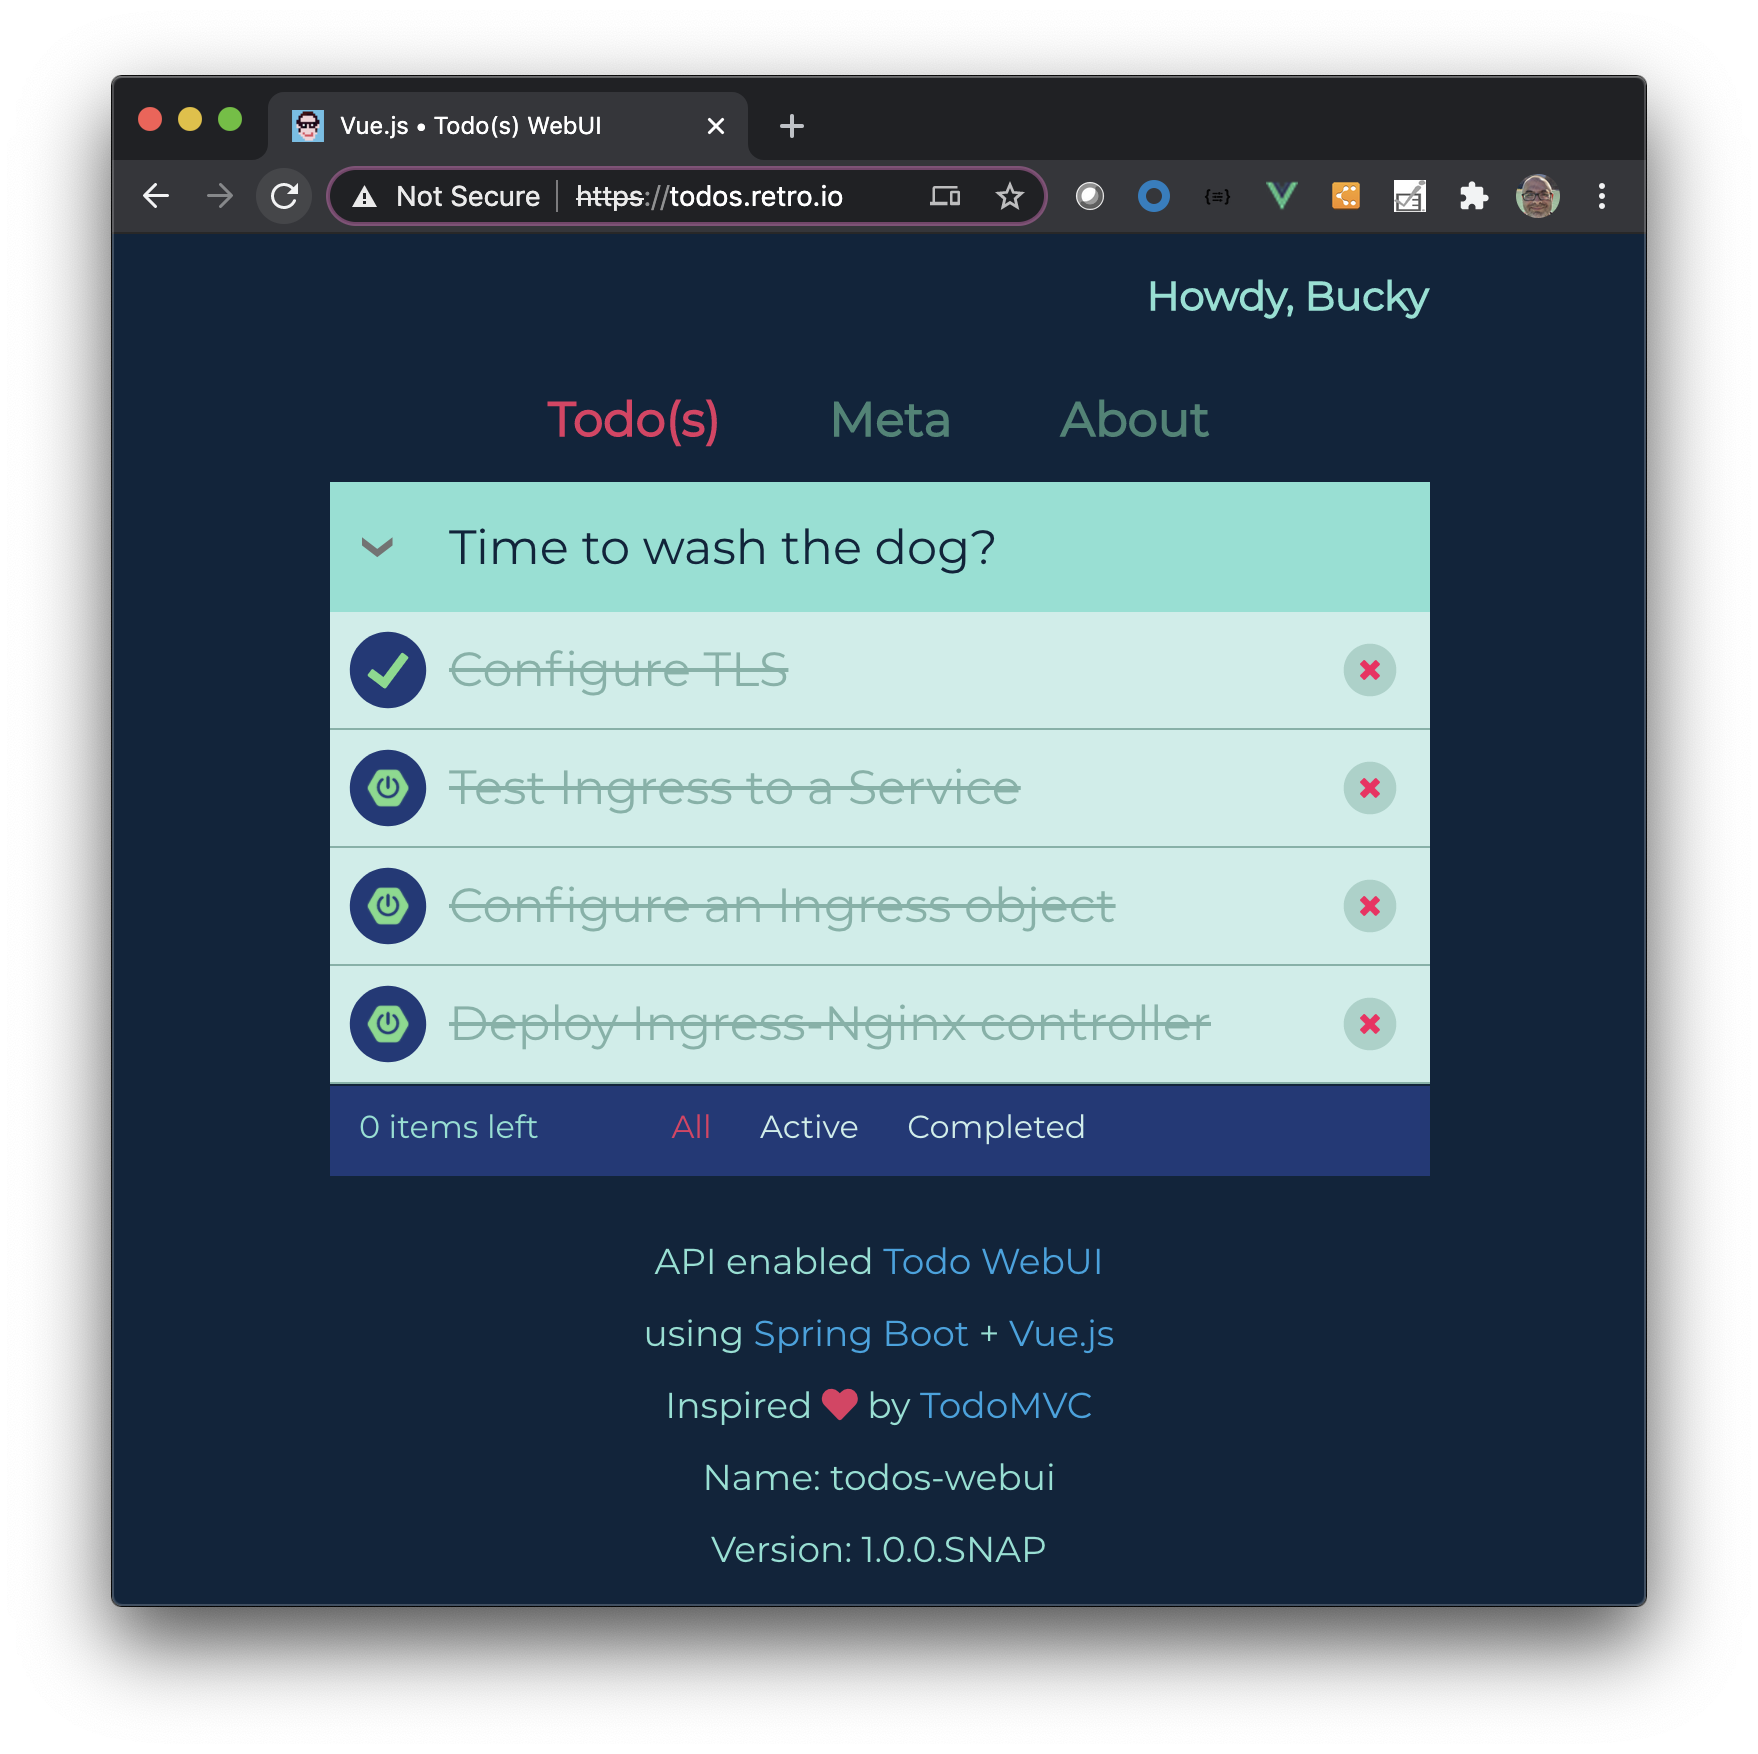
At this point open a browser to your DNS name and accept the warning for the CA being invalid due to it being self-signed.


Summary
K8s is Lego Bricks for the developer/devOps types, it gives solid primitives for building architectures with features everyone expects like Service abstractions, LoadBalancers, routing and Security controls. Table steaks but historically difficult items to deal with, K8s puts you in the driver seat and provides the interfaces and abstractions for the Cloud Native Architect to be productive…and have a bit of dorking around fun :)
