You get a volume, you get a volume, you, and you and you…being able to provision “elastic block storage” for K8s can be quite gratifying, you may feel like Oprah on some grand giveaway. Let’s dig in and take a gander at openebs.
Thankfully there’s some good bits to accomplish this, one such framework is openebs, which we kick the tires on here, so grab some snacks and lets hack.
Table of Content
K8s Lab and Gear
Get yo self a K8s cluster.
I’m using a diy open source K8s cluster (v1.19.9) on VMs in vSphere
- 1 Master, Ubuntu VM 2-core, 4gb memory, 20gb host disk
- 4 Workers, Ubuntu VM, 4-core, 16gb memory, 32gb host disk
Each Worker has a 32gb host disk used to support dynamic hostPath volumes using the default storage-class. Dynamic block device provisioning occurs when new block devices are attached to Worker nodes and deployments use the “openebs-device” storage-class. Each method is covered below.
Installing EBS
As documented on openebs you can use Helm or kubectl to install the OpenEBS operator. Since I like doing things the “hardway” on the ole homelab I’m using the kubectl installation method.
There’s two flavors of OpenEBS, the fully loaded version contains OpenEBS Control Plane components, LocalPV Hostpath, LocalPV Device, cStor and Jiva Storage Engines as well as the Node Disk Manager (NDM) daemon set. The second flavor is the lite version containing only LocalPV Hostpath and Device Storage Engines…I’m using the “lite” version as the workloads I plan on running handle replication of data natively (i.e. MongoDB, MinIO). The primary difference between LocalPV engines and the others is replication of data at the storage layer.
Installing the “lite” version is as simple as applying the lite operator and storage-class as a cluster admin. The operator control plan components install into the “openebs” namespace.
You may wish to download the “openebs-operator-lite.yaml” and modify the NDM device filters to include or exclude certain paths from being discovered and used as block storage. Reasonable defaults are set but you may have a device naming and mounting convention you wish to use. For example you may mount devices on Workers under a custom path like: /mounts/devices and wish to exclude everything else.
To customize - download “openebs-operator-lite.yaml” and edit the filterconfigs in the ConfigMap.
# Not all ConfigMap elements are shown here, just the "filterconfigs"
apiVersion: v1
kind: ConfigMap
metadata:
  name: openebs-ndm-config
  namespace: openebs
data:
  node-disk-manager.config: |
    filterconfigs:
      - key: os-disk-exclude-filter
        name: os disk exclude filter
        state: true
        exclude: "/,/etc/hosts,/boot"
      - key: path-filter
        name: path filter
        state: true
        include: "/my/custom/device/mounting/root"
        exclude: "/dev/loop,/dev/fd0,/dev/sr0,/dev/ram,/dev/dm-,/dev/md,/dev/rbd,/dev/zd"
The lite storage-classes are “openebs-device” and “openebs-hostpath”, by default “openebs-hostpath” will dynamically add persistent volumes under /var/openebs/local. This can be customized by modifying the StorageClass in openebs-lite-sc.yaml.
apiVersion: storage.k8s.io/v1
kind: StorageClass
metadata:
  name: openebs-hostpath
  annotations:
    openebs.io/cas-type: local
    cas.openebs.io/config: |
      - name: StorageType
        value: "hostpath"
      - name: BasePath
        value: "/var/openebs/local/"
Once you’re happy apply the changes.
# install lite operator and NDM components
$ kubectl apply -f https://openebs.github.io/charts/openebs-operator-lite.yaml
# install localpv hostpath and device storage-classes
$ kubectl apply -f https://openebs.github.io/charts/openebs-lite-sc.yaml
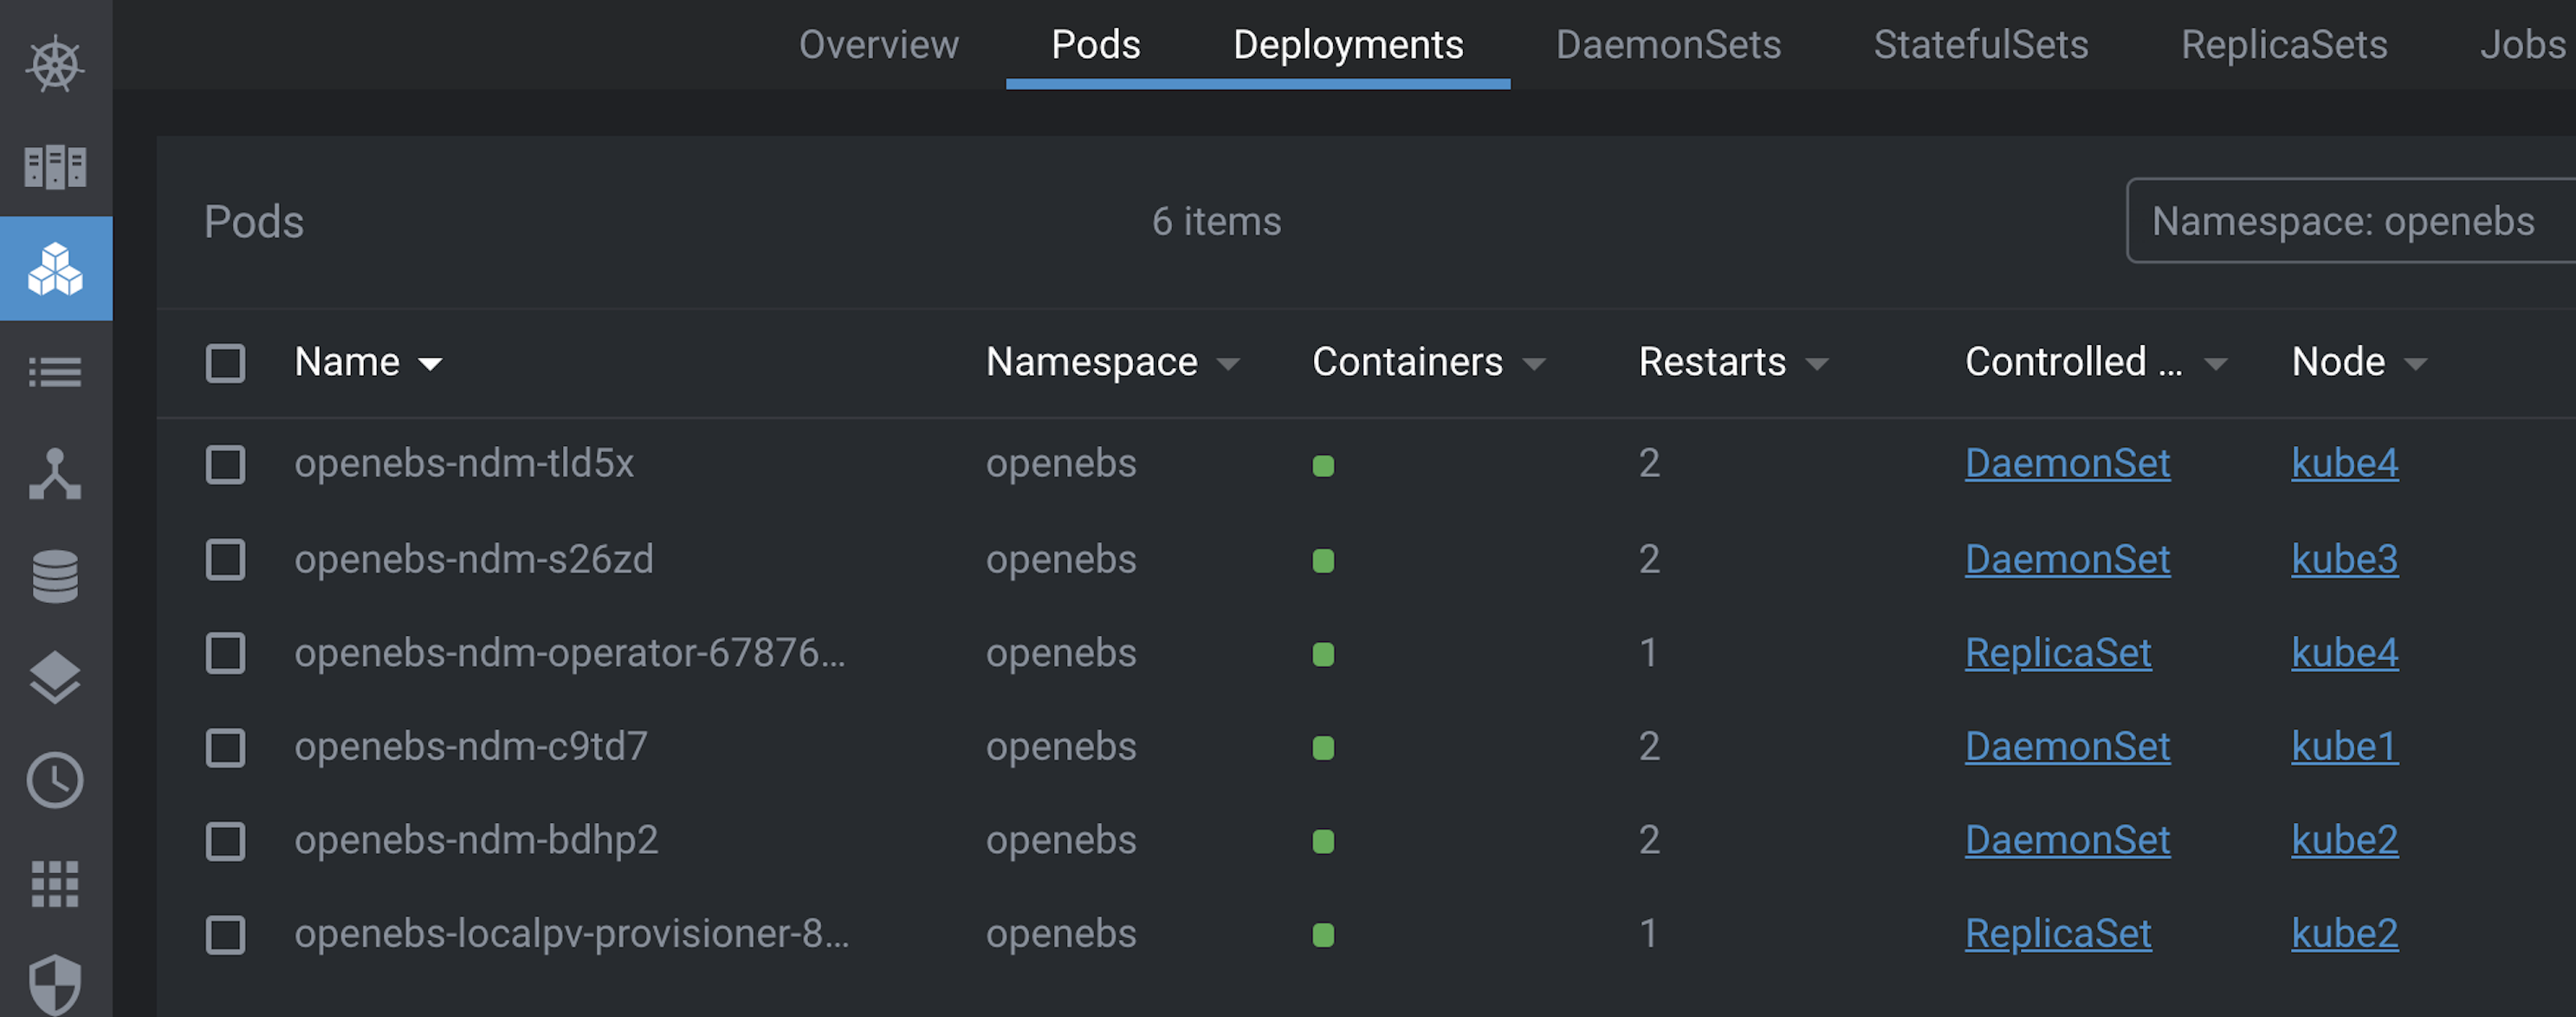
After a couple minutes verify all the components are installed and running.


Using EBS
Block Storage
To provision block storage we need to attach hard disks on K8s Worker Nodes. I’m using VMware VMs and can attach disks by applying changes via Terraform or by adding disks with the vSphere Web Client.
OpenEBS will recognize each disk as a Block Device and make it available for claims on Block Storage. The thing to note is OpenEBS will use the whole Block Device for a single claim, as they’re units and can’t be divided among multiple claims.
For example attaching an 8gb disk would result in an 8gb Block Device, and a request of 4gb would claim the whole thing. Thus its best for the disk size to match its single intended use. In my setup this means I’ll likely have many smallish disks attached to each Node, which works but doesn’t scale too great, as scsi has a limit of 16 devices per controller. That said for craft homelabing it’ll be alright :)
Attach disks in vSphere
Attaching disks to vSphere managed VMs can be accomplished via Terraform by adding a disk block to the managed VM. Ensure the unit_number is unique on the scsi bus and the datastore_id references the datastore backing the disk.
# terraform to add disk
resource "vsphere_virtual_machine" "vm" {
  #
  # ... other terraform blocks
  #
  disk {
    label            = "block-device-1"
    size             = "8" # Gb
    eagerly_scrub    = false
    thin_provisioned = false
    unit_number      = 1
    datastore_id     = data.vsphere_datastore.vm_disk1_datastore.id
  }
}
The VM must be restarted or the scsi bus re-scanned before OpenEBS will recognize the new disk.
# find the scsi hostId
# the output will contain a snippet like...Host: scsi32
# in this example 32 is the id we're after
$ cat /proc/scsi/scsi

# trigger a rescan
$ sudo echo "- - -" > /sys/class/scsi_host/host32/scan
After a restart or rescan OpenEBS will load disks as Block Devices.
$ kubectl get blockdevice -n openebs
NAME                                           NODENAME   SIZE          CLAIMSTATE   STATUS   AGE
blockdevice-1b734178f3bc706a124e6fb0f5ce3348   kube2      68718411264   Claimed      Active   4h55m
blockdevice-5f41240c91a814b44f6afcbde5e20e3b   kube3      68718411264   Claimed      Active   4h54m
blockdevice-c0e9ad10715786c8709273ed237d79c8   kube1      68718411264   Claimed      Active   4h53m
blockdevice-f136cfb0d06ef178e22d1be3cc464318   kube4      68718411264   Claimed      Active   4h52m
Consume Block Storage
Once Block Devices are setup in the cluster using is as simple as declaring the disk size and Storage Class. Below is an example using Helm to install Bitnami’s Minio deployment.
helm install minio1-k8s \
    --set global.storageClass=openebs-device \
    --set global.minio.accessKey=admin \
    --set global.minio.secretKey=changeme \
    --set service.loadBalancerIP=192.168.13.103 \
    --set persistence.size=64Gi \
    -f values.yml -n minio bitnami/minio
Hostpath Storage
Hostpath Storage is simpler to use IMO as it only requires one disk per Node. Great for non-prod environments and homelabbing. On my K8s cluster each Worker has a 500GB disk mounted at /data, OpenEBS will dynamically provision storage at this location on the same Node where the Pod is running.
Local Hostpath Storage Class pointing to /data.
apiVersion: storage.k8s.io/v1
kind: StorageClass
metadata:
  name: local-hostpath
  annotations:
    openebs.io/cas-type: local
    cas.openebs.io/config: |
      - name: StorageType
        value: hostpath
      - name: BasePath
        value: /data
provisioner: openebs.io/local
reclaimPolicy: Delete
volumeBindingMode: WaitForFirstConsumer
Consume Hostpath Storage
Once hostpath drives are mounted and the Storage Class configured consuming is super easy and typically just a matter of declaring the Storage Class in your deployment.
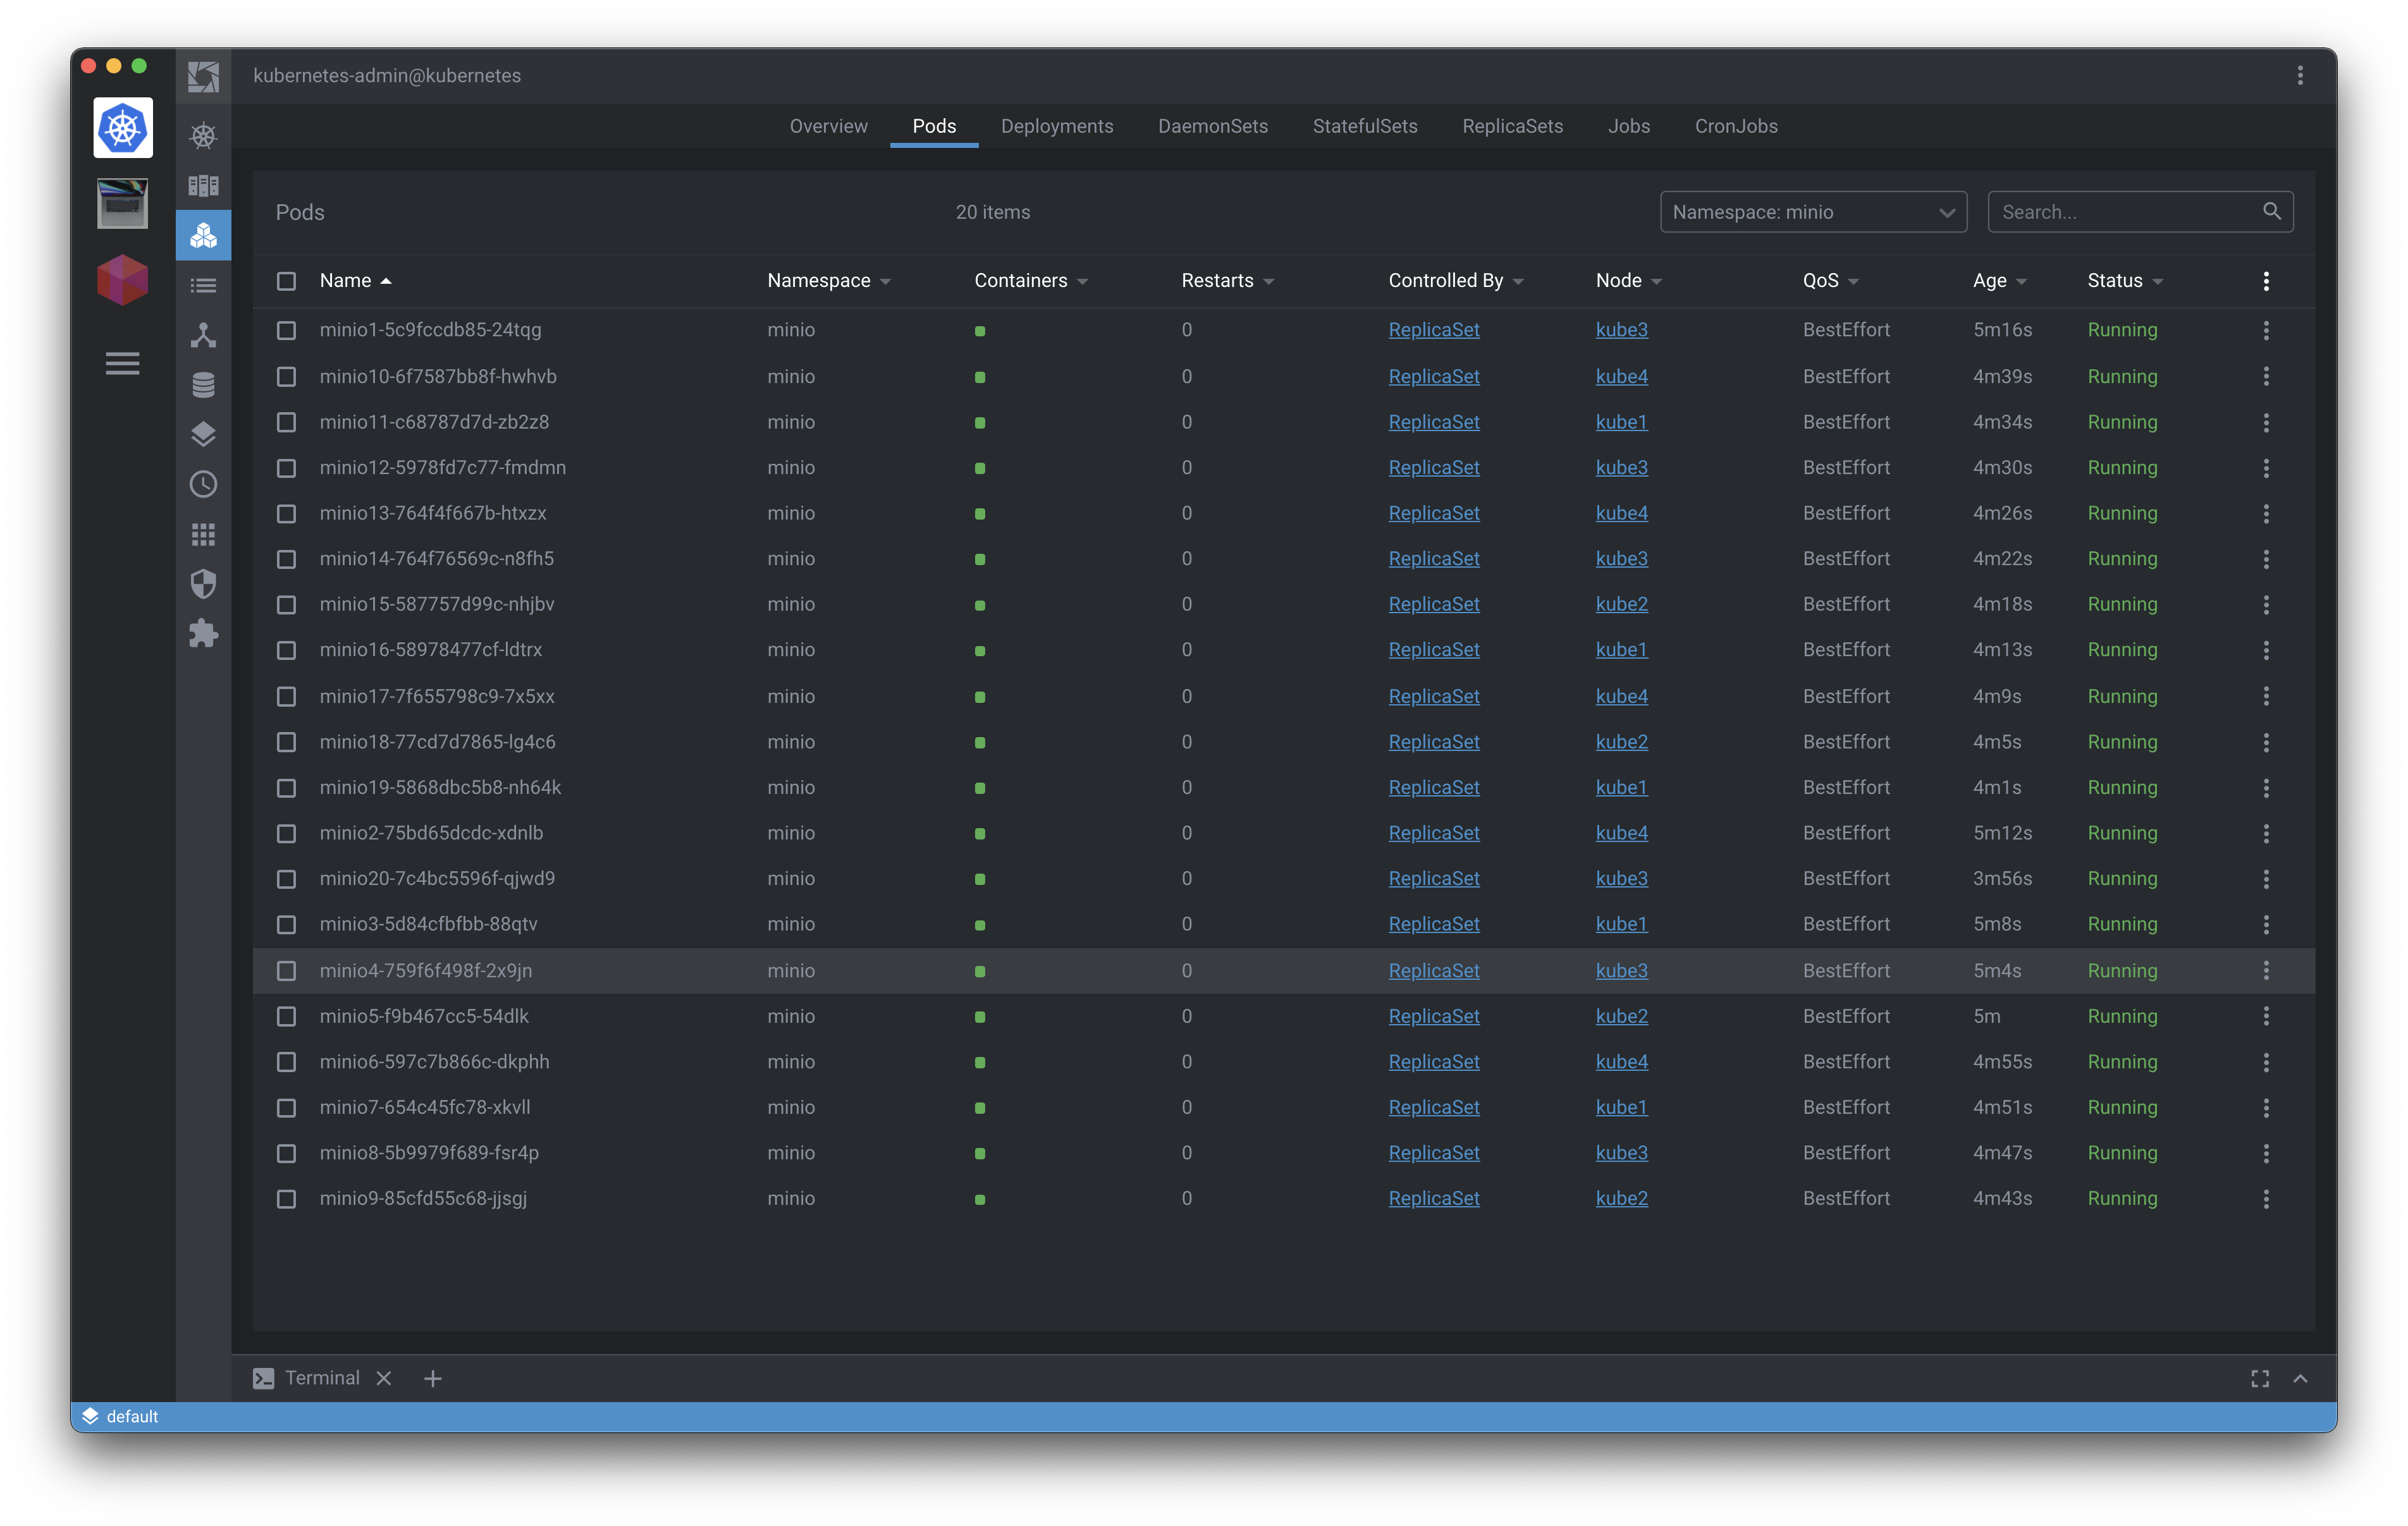
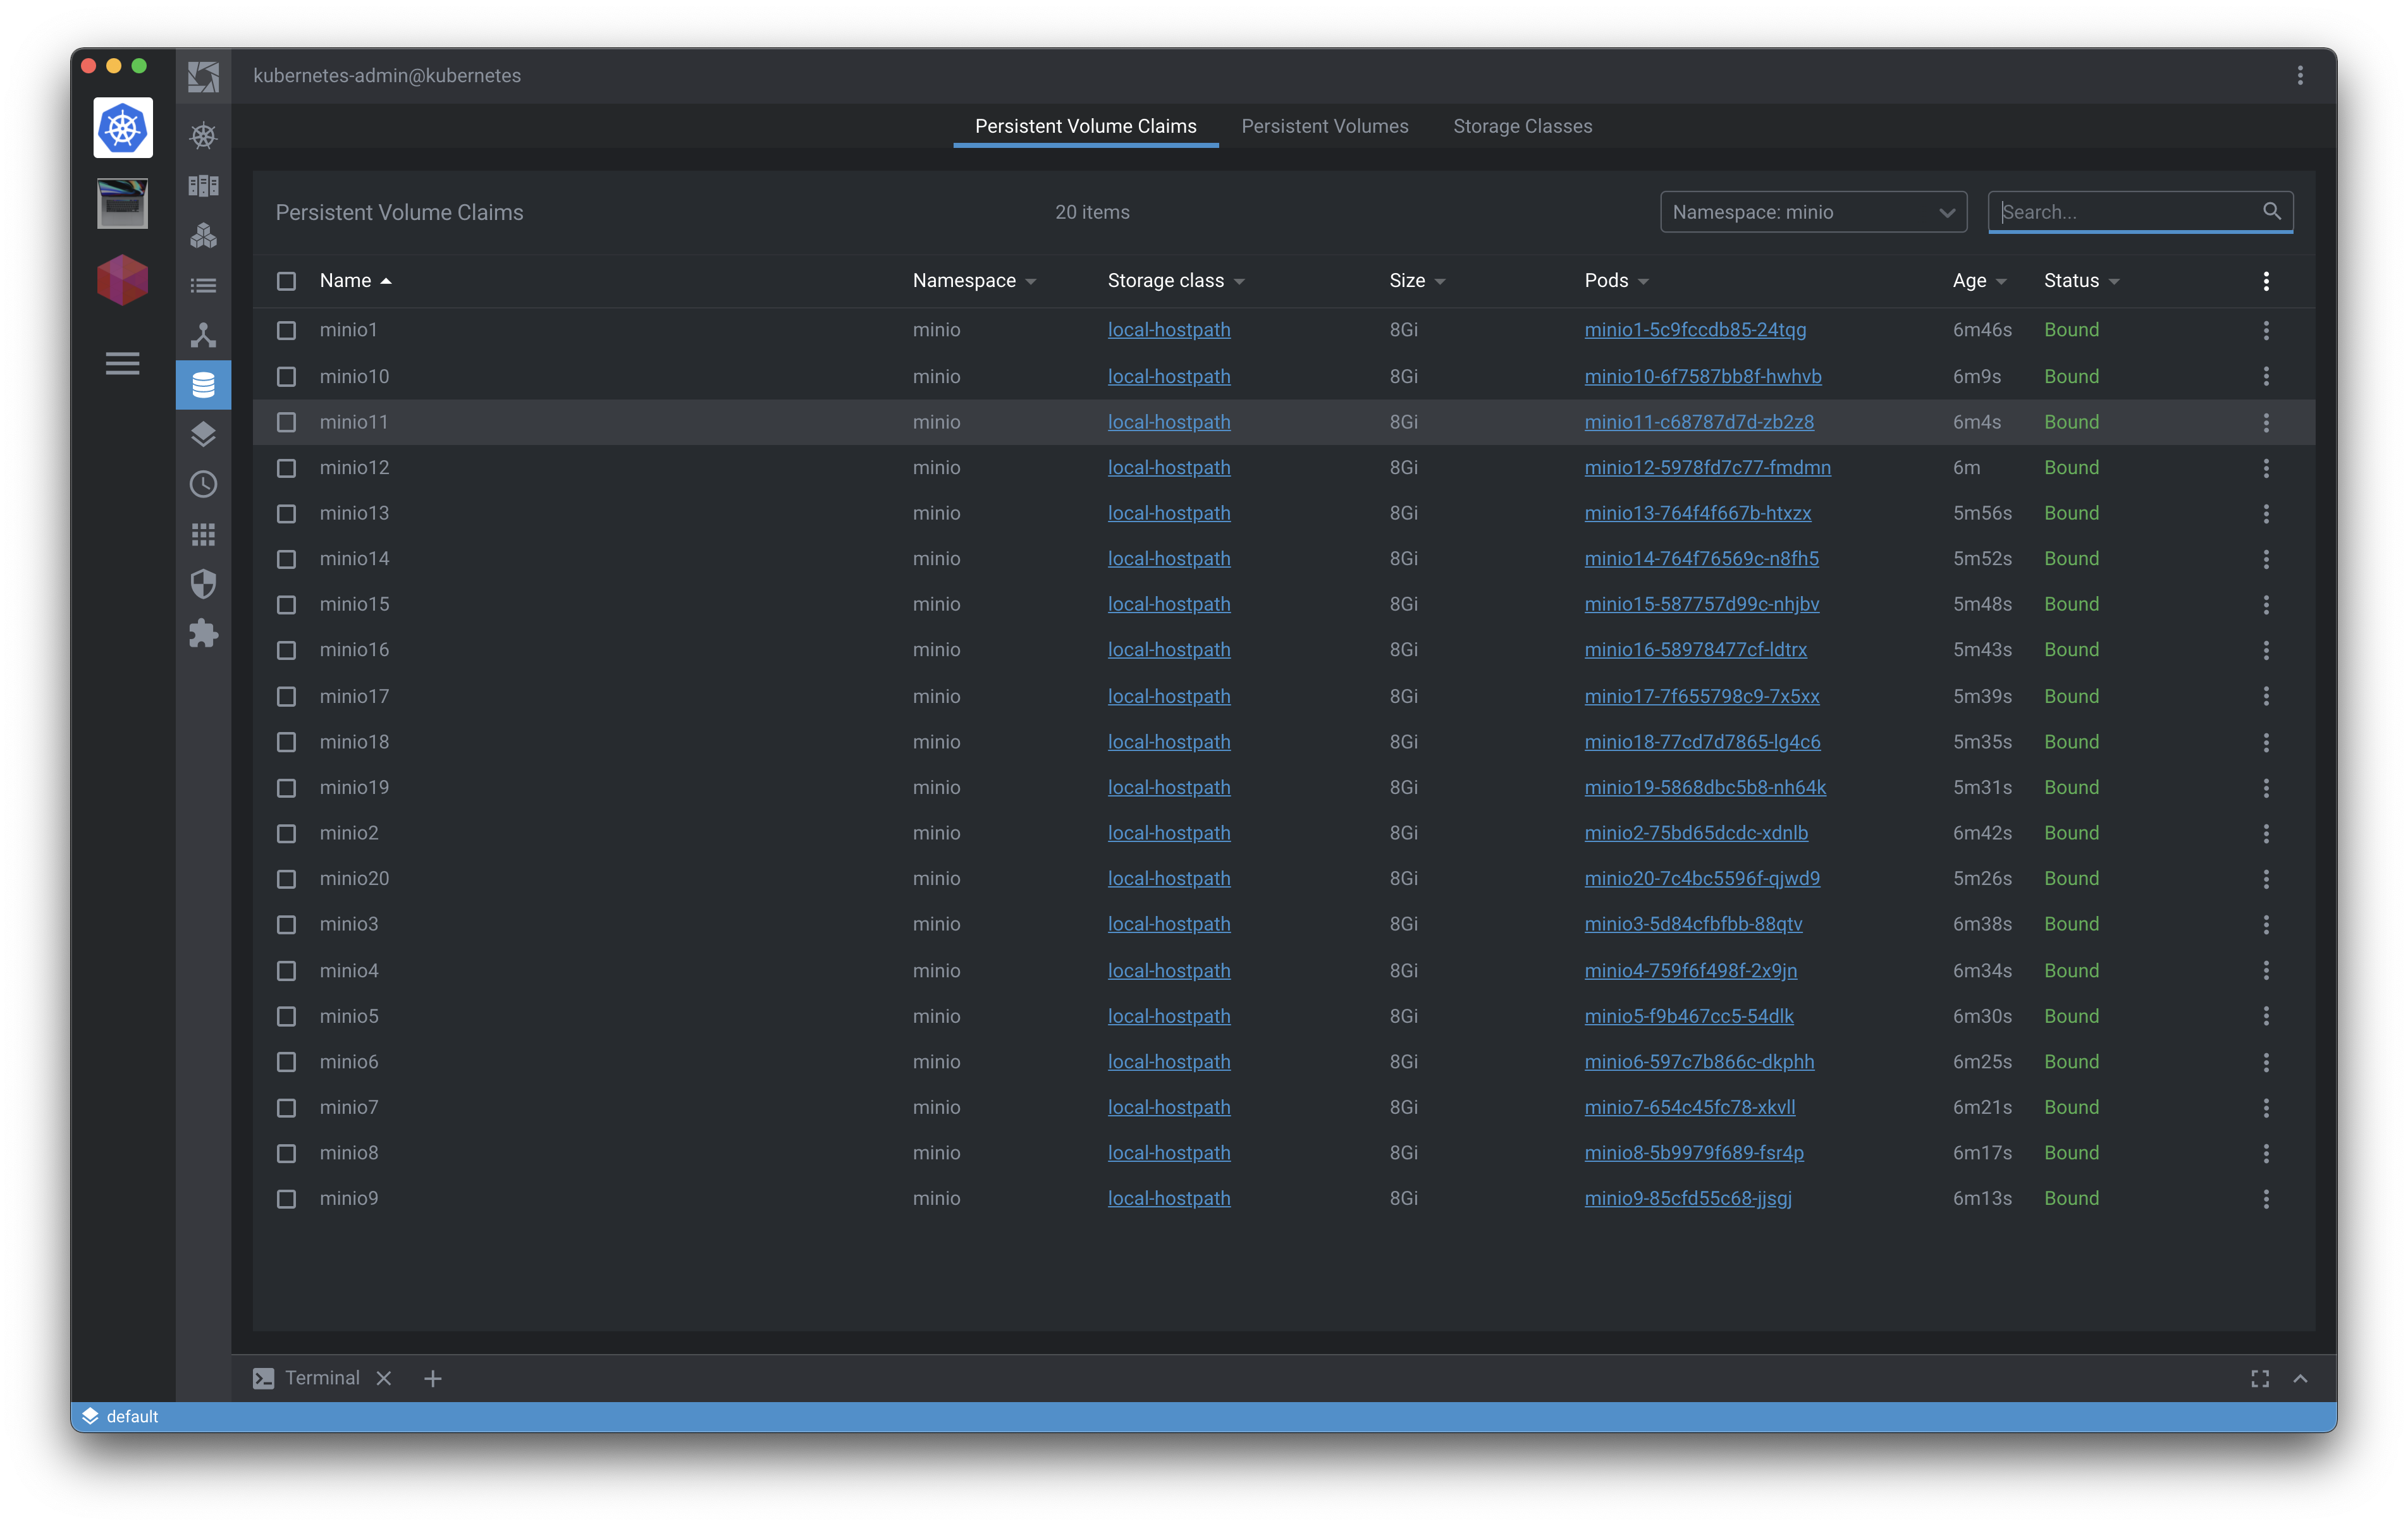
The following script will deploy 20 MinIO Object Stores using Helm, each instance binds to a dynamically provisioned local PV managed by OpenEBS.
When the MinIO instances are uninstalled, storage is reclaimed per the reclaimPolicy stated in the Storage Class.
#!/bin/bash
MINIO_SIZE=$1
MINIO_ACCESS_KEY=$2
MINIO_SECRET_KEY=$3
for i in {1..20}
do
   helm install minio$i \
      --set global.storageClass=local-hostpath \
      --set global.minio.accessKey=$MINIO_ACCESS_KEY \
      --set global.minio.secretKey=$MINIO_SECRET_KEY \
      --set service.loadBalancerIP=192.168.13.$((101+$i)) \
      --set persistence.size=$MINIO_SIZE \
      -f values.yml -n minio bitnami/minio
done


Troubleshooting
OpenEBS NDM needs help from time to time cleaning up Block Device Claims.
$ kubectl patch -n openebs -p '{"metadata":{"finalizers":null}}' --type=merge $(kubectl get bdc -n openebs -o name)
