Post
Merlin: Smart Watermarks + Web-Ready Photos from the CLI 🧙♂️✨
TL;DR 🎯
If you want a dead-simple, CLI-first way to turn a folder of photos into web-ready JPGs with a watermark that doesn’t disappear into bright skies, Merlin’s your wizard 🧙♂️🏮
I built a little Bash tool called Merlin 🧙♂️ that turns a folder of “raw-ish” photos into web-ready images: resized, converted to JPG, and watermarked with the right logo color (black or white) based on the brightness behind it. Minimal effort. Maximum ✨.
👉 GitHub repo: https://github.com/corbtastik/merlin
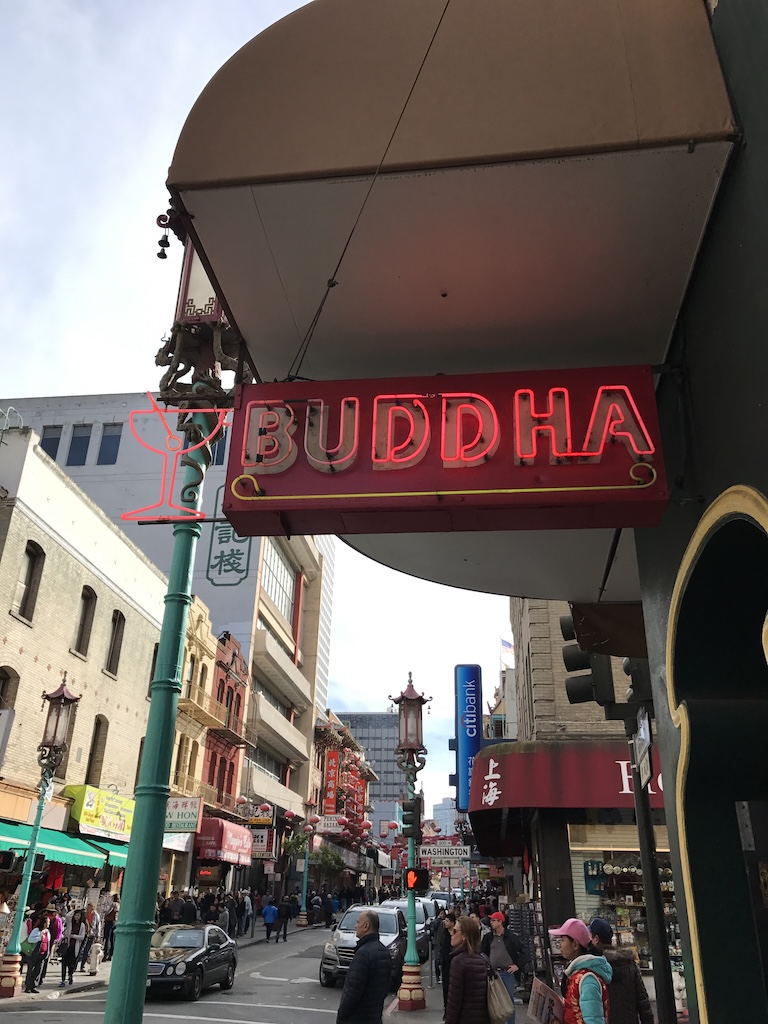
Before / After 🖼️
Same shot — one without the watermark, one with it:

What Merlin does (a.k.a. “the spell list”) 🪄
Merlin is a Bash script that uses ImageMagick to batch process images in a directory:
- Batch processing: handles
jpg,png, andheicfiles 📸
(HEIC = High Efficiency Image Container) - Web optimization: converts everything to JPG (quality 85) ✅
- Resize modes:
fit(default): resize to a target width while keeping aspect ratiocover: center-crop + resize to a 4:5-ish frame (social-friendly) 📱
(See: Aspect ratio)
- Smart watermarking: samples the bottom-right corner and automatically picks:
- Light background → black logo
- Dark background → white logo
- Non-destructive: creates new files like
IMG_1234-merlin.jpg(originals stay untouched) 🧼✨
Prerequisites ✅
You need ImageMagick v7+ installed (specifically the magick command).
macOS (Homebrew) 🍺
brew install imagemagickUbuntu / Debian 🐧
sudo apt-get install imagemagickQuick sanity check:
magick -versionIf that prints a version and doesn’t complain, you’re in business 😄
Install 🧰
- Download
merlin.shinto your project folder. - Make it executable:
chmod +x merlin.sh- Optional: move it into your PATH so you can run it anywhere:
mv merlin.sh /usr/local/bin/merlinUsage 🚀
Basic (default width + fit)
This is the simplest way to run Merlin. It uses the default width (1600px) and fit.
./merlin.sh \
  --input ./photos \
  --logo-white ./assets/logo-white.png \
  --logo-black ./assets/logo-black.png
Advanced (custom output, width, and cover)
Specify an output directory, a custom width, and use cover crop.
./merlin.sh \
  --input ./raw-photos \
  --output ./web-ready \
  --width 1080 \
  --style cover \
  --logo-white ./assets/logo-white.png \
  --logo-black ./assets/logo-black.png
Flags 📋
| Flag | Description | Required? | Default |
|---|---|---|---|
-i, --input |
Directory containing source images | ✅ | — |
--logo-white |
Path to white watermark logo | ✅ | — |
--logo-black |
Path to black watermark logo | ✅ | — |
-o, --output |
Output directory | ❌ | same as input |
-w, --width |
Target width in pixels | ❌ | 1600 |
--style |
fit or cover |
❌ | fit |
--suffix |
String appended to filenames | ❌ | merlin |
How it works (the “real” magic) 🧠✨
1) Auto-orient first 🔄
Phones love storing rotation in metadata (thanks, Exif 😅). Merlin uses -auto-orient so “bottom-right” is actually bottom-right.
2) Resize mode 📏
- fit: resize to width, preserve aspect ratio
- cover: crop + resize to fill a 4:5-ish output (great for social posts) 📱
3) Brightness sampling ☀️🌑
Merlin crops a small region (20% width × 15% height) in the bottom-right, converts it to grayscale, and computes mean brightness. If brightness is > 0.4, it assumes the background is light → black logo.
4) Composite watermark 🎨
Merlin overlays the selected logo in the bottom-right with a little padding.
Important: Merlin does not resize your logo. It uses the logo at its native pixel size.
Make your logo files the size you want them to appear on the final image (ex:100x45px).
Output naming 🏷️
Merlin avoids overwriting originals by appending a suffix:
- Source:
IMG_1234.HEIC - Output:
IMG_1234-merlin.jpg